It’s official, tinting and brow lamination are legal in California!
After decades of waiting and manifesting for the opportunity to be allowed to offer these highly in-demand services in your salon, you have finally been given the green light by the California Lawmakers. California Aestheticians have a very bright and successful year ahead of them, as the new state board rule comes into effect in January 2022.
What does this new law mean for licensed Aestheticians? Salons now have the exciting opportunity to expand their services, including brow tinting and lamination – the much-loved services for clients who are after defining, lifting, and shaping their brows.
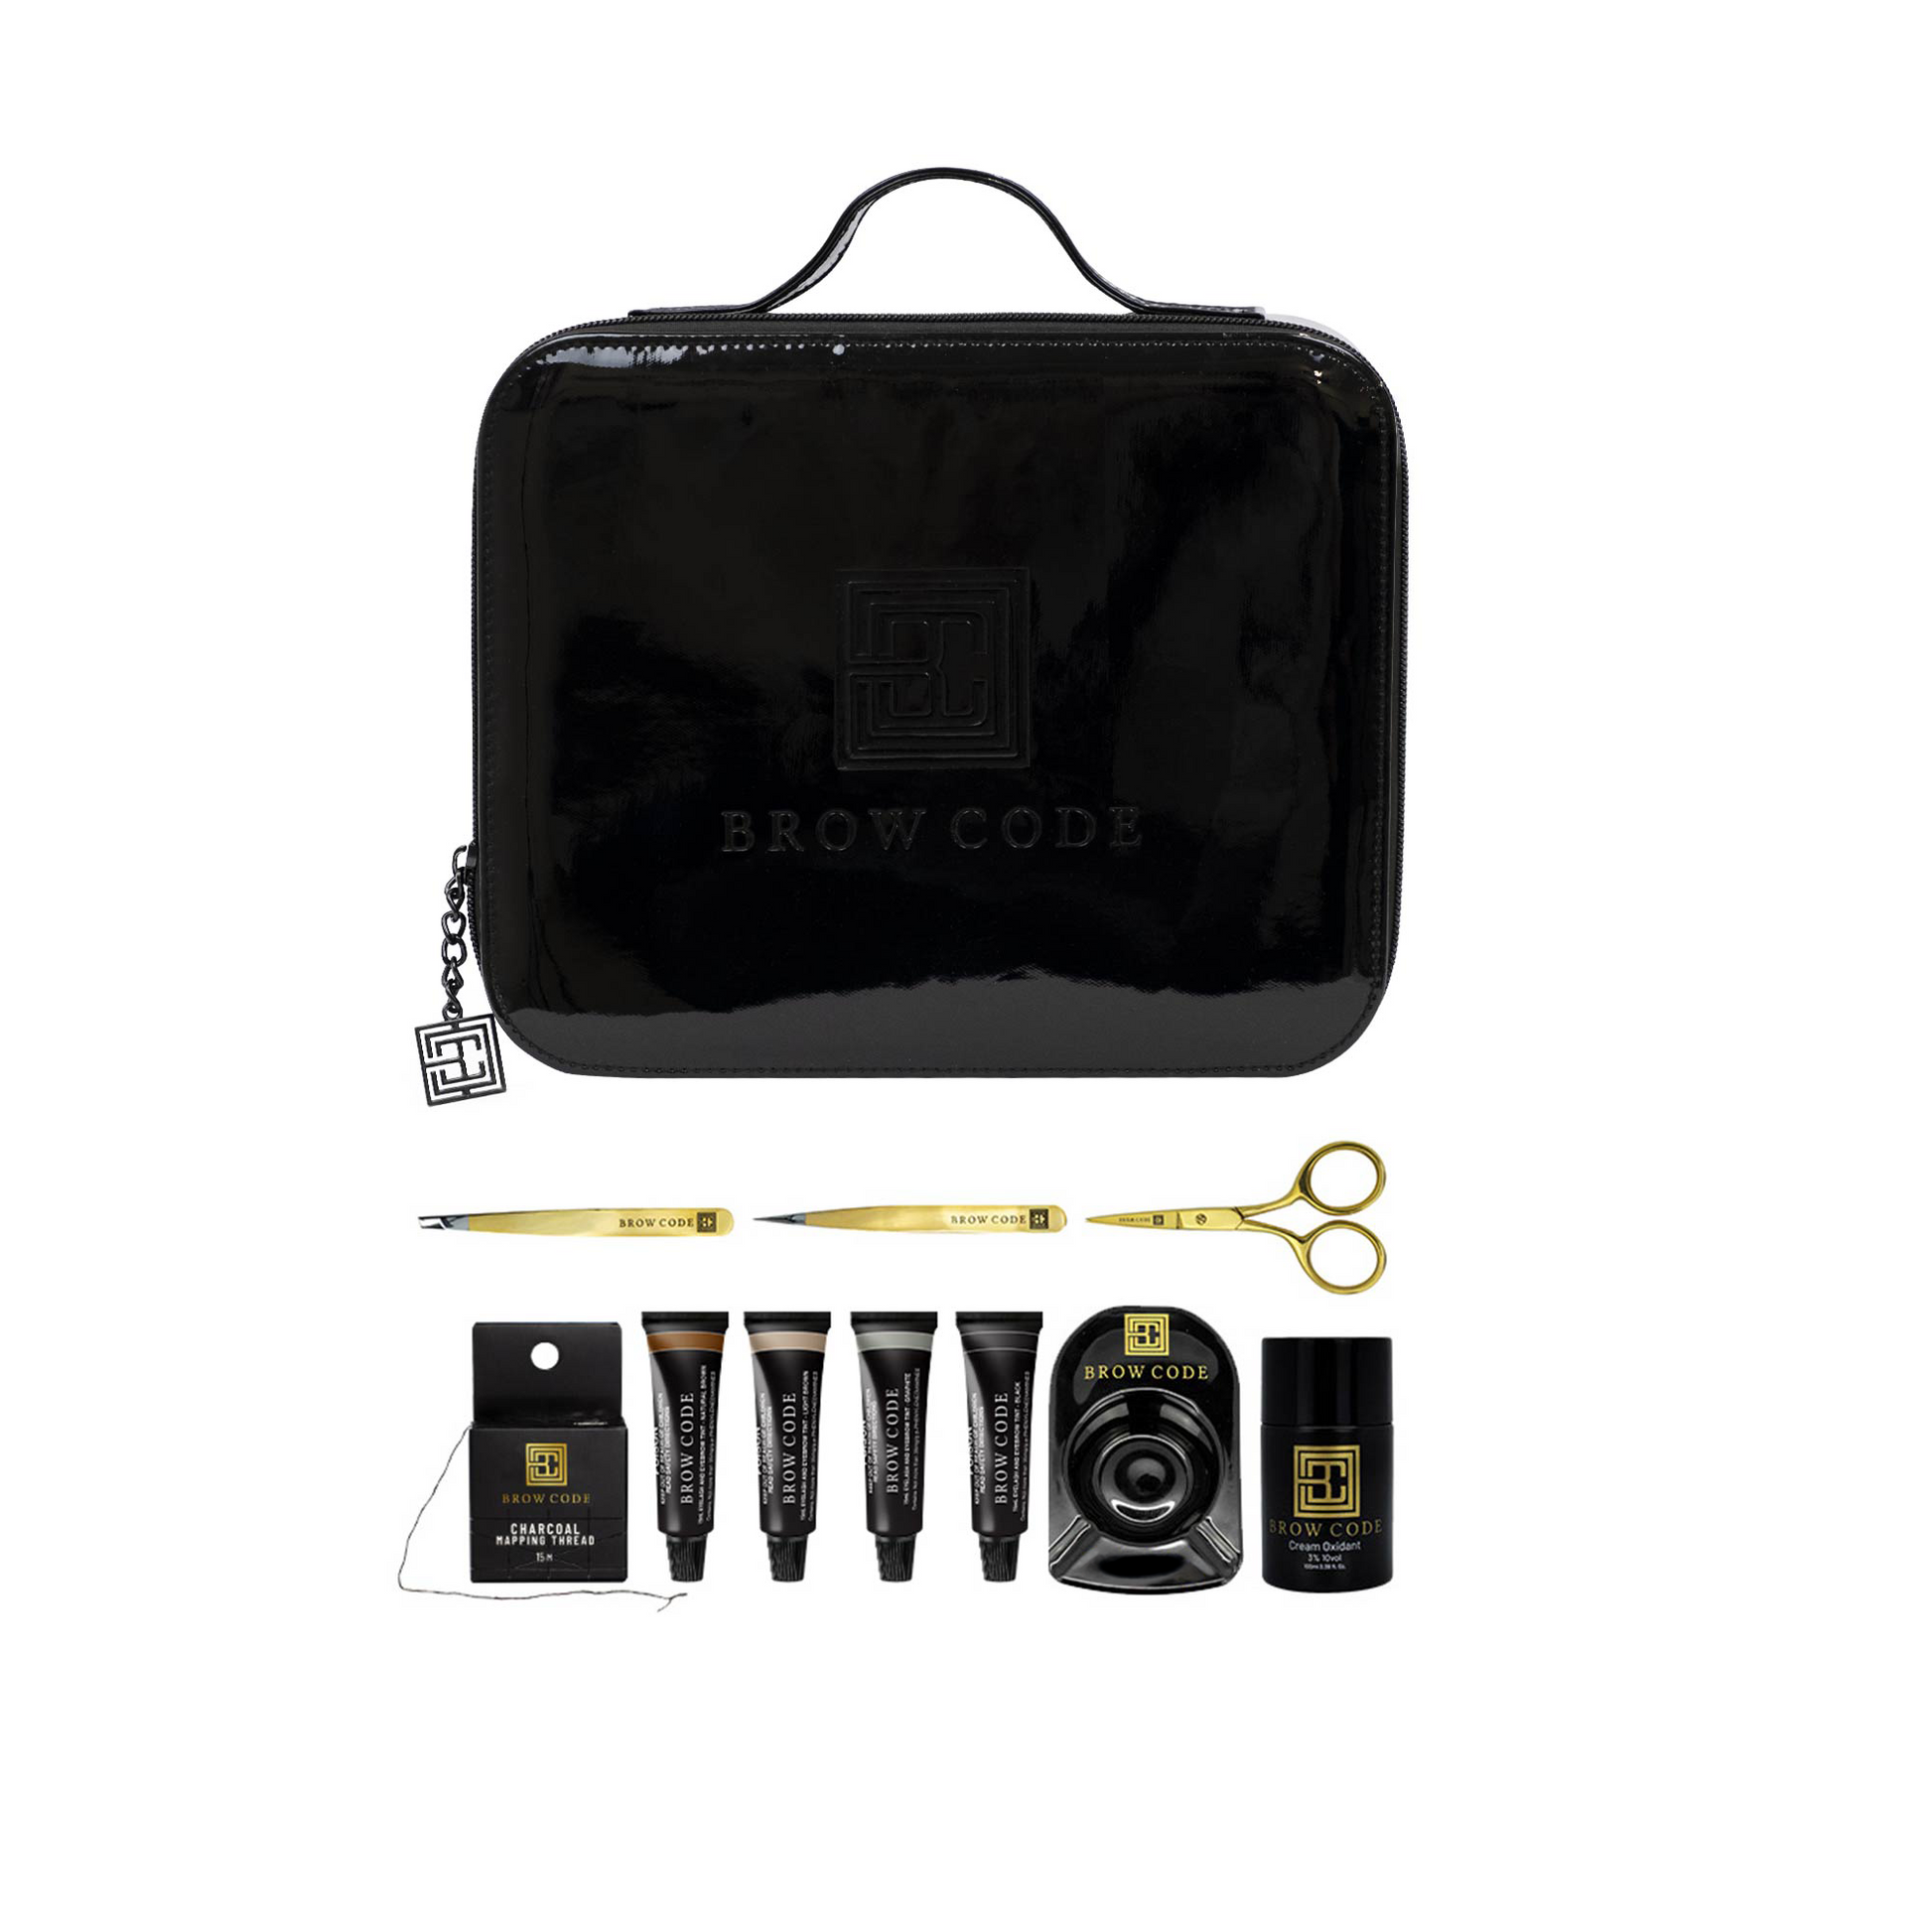
To celebrate the legalization of these services, we’re going to share with you our tips and tricks to achieving the best results with Brow Code Lamination and Tint.
Pro Tips and Tricks for Lamination
- We recommend cleansing the brows with Micellar Water and a cotton pad.
- Swipe a pea-size amount of glue across the base of the brow and brush this upwards with a spoolie. It is ok if the brows do not lie flat, the glue is intended to assist with direction only. We recommend only using the adhesive on clients with unruly brows.
- Use Brow Code Lamination Combs to brush your brows up for the best results during the Lamination process.
- Remove Step 1 and Step 2 with a dry cotton tip or cotton pad, ensuring each step is completely removed before proceeding with the next. Avoid using a damp cotton tip or pad (except on the tip of the hair only) as this can deactivate the product.
- Ensure you keep the brows completely dry and makeup/product-free for 24 hours following the Lamination service.
- Use the entire sachet of Step 3 Keratin Nourish to soak into the brows completely. This step does not need to be removed after 2 hours.
Pro Tips and Tricks for Tint
- We recommend cleansing the brows before application with Micellar Water and a cotton pad.
- Push the tint down onto the skin and blend through the brow hairs evenly as you apply.
- Blend the tint through the brows with a dry cotton tip as it processes to create a nice even skin stain.
- Keep the edges of your brow tint clean by swiping a dry cotton tip alongside to clean up any tint outside your desired shape.
- Remove the front section of your brow after a few minutes to create an ombre effect.
- Use a dry cotton pad to remove if you would like the tint to continue processing slightly after removal, or a slightly wet cotton pad if you would like the tint to stop processing at that shade.
- The Brow Code Tint is richly pigmented and designed to provide a slight skin stain for a few days and up to one week on the skin and lasts up to 2 to 3 weeks on the hair.
Struggling To Achieve Next Level Results?
There are many variables that will affect the outcome of a tint stain. Some examples include:
- Fewer brow hairs or sparse hairs
- Sun exposure (UV rays break up the chemical bonds that produce the tint color)
- Sweating
- Washing the brow area
- Darker shades will last longer than lighter shades
- Using moisturizers and other facial products on the brows (these can exfoliate away the tint)
It is also good to be mindful of your client’s skin type and chemistry in combination with other brow services or products. Recent brow tints, alternate tint products, fake tans, contradicting skincare products, and so forth will cause the Tint to emerge in a different shade than intended.