When it comes to carving out beautifully shaped brows, brow mapping is your ultimate secret weapon. Whether you're aiming for sharp and structured or soft and subtle, this tried-and-true technique gives you the blueprint to create brows that are proportionate, precise, and perfectly complement your client’s face shape.
What Is Brow Mapping?
Brow Mapping is a shaping technique that uses the golden ratio—yes, the same one used by artists and architects for centuries—to help achieve facial symmetry. This method ensures that each brow is sculpted to complement your client’s unique facial structure, giving them the most flattering and balanced shape possible.
Why Use Brow Code Brow Charcoal Eyebrow Mapping Thread?
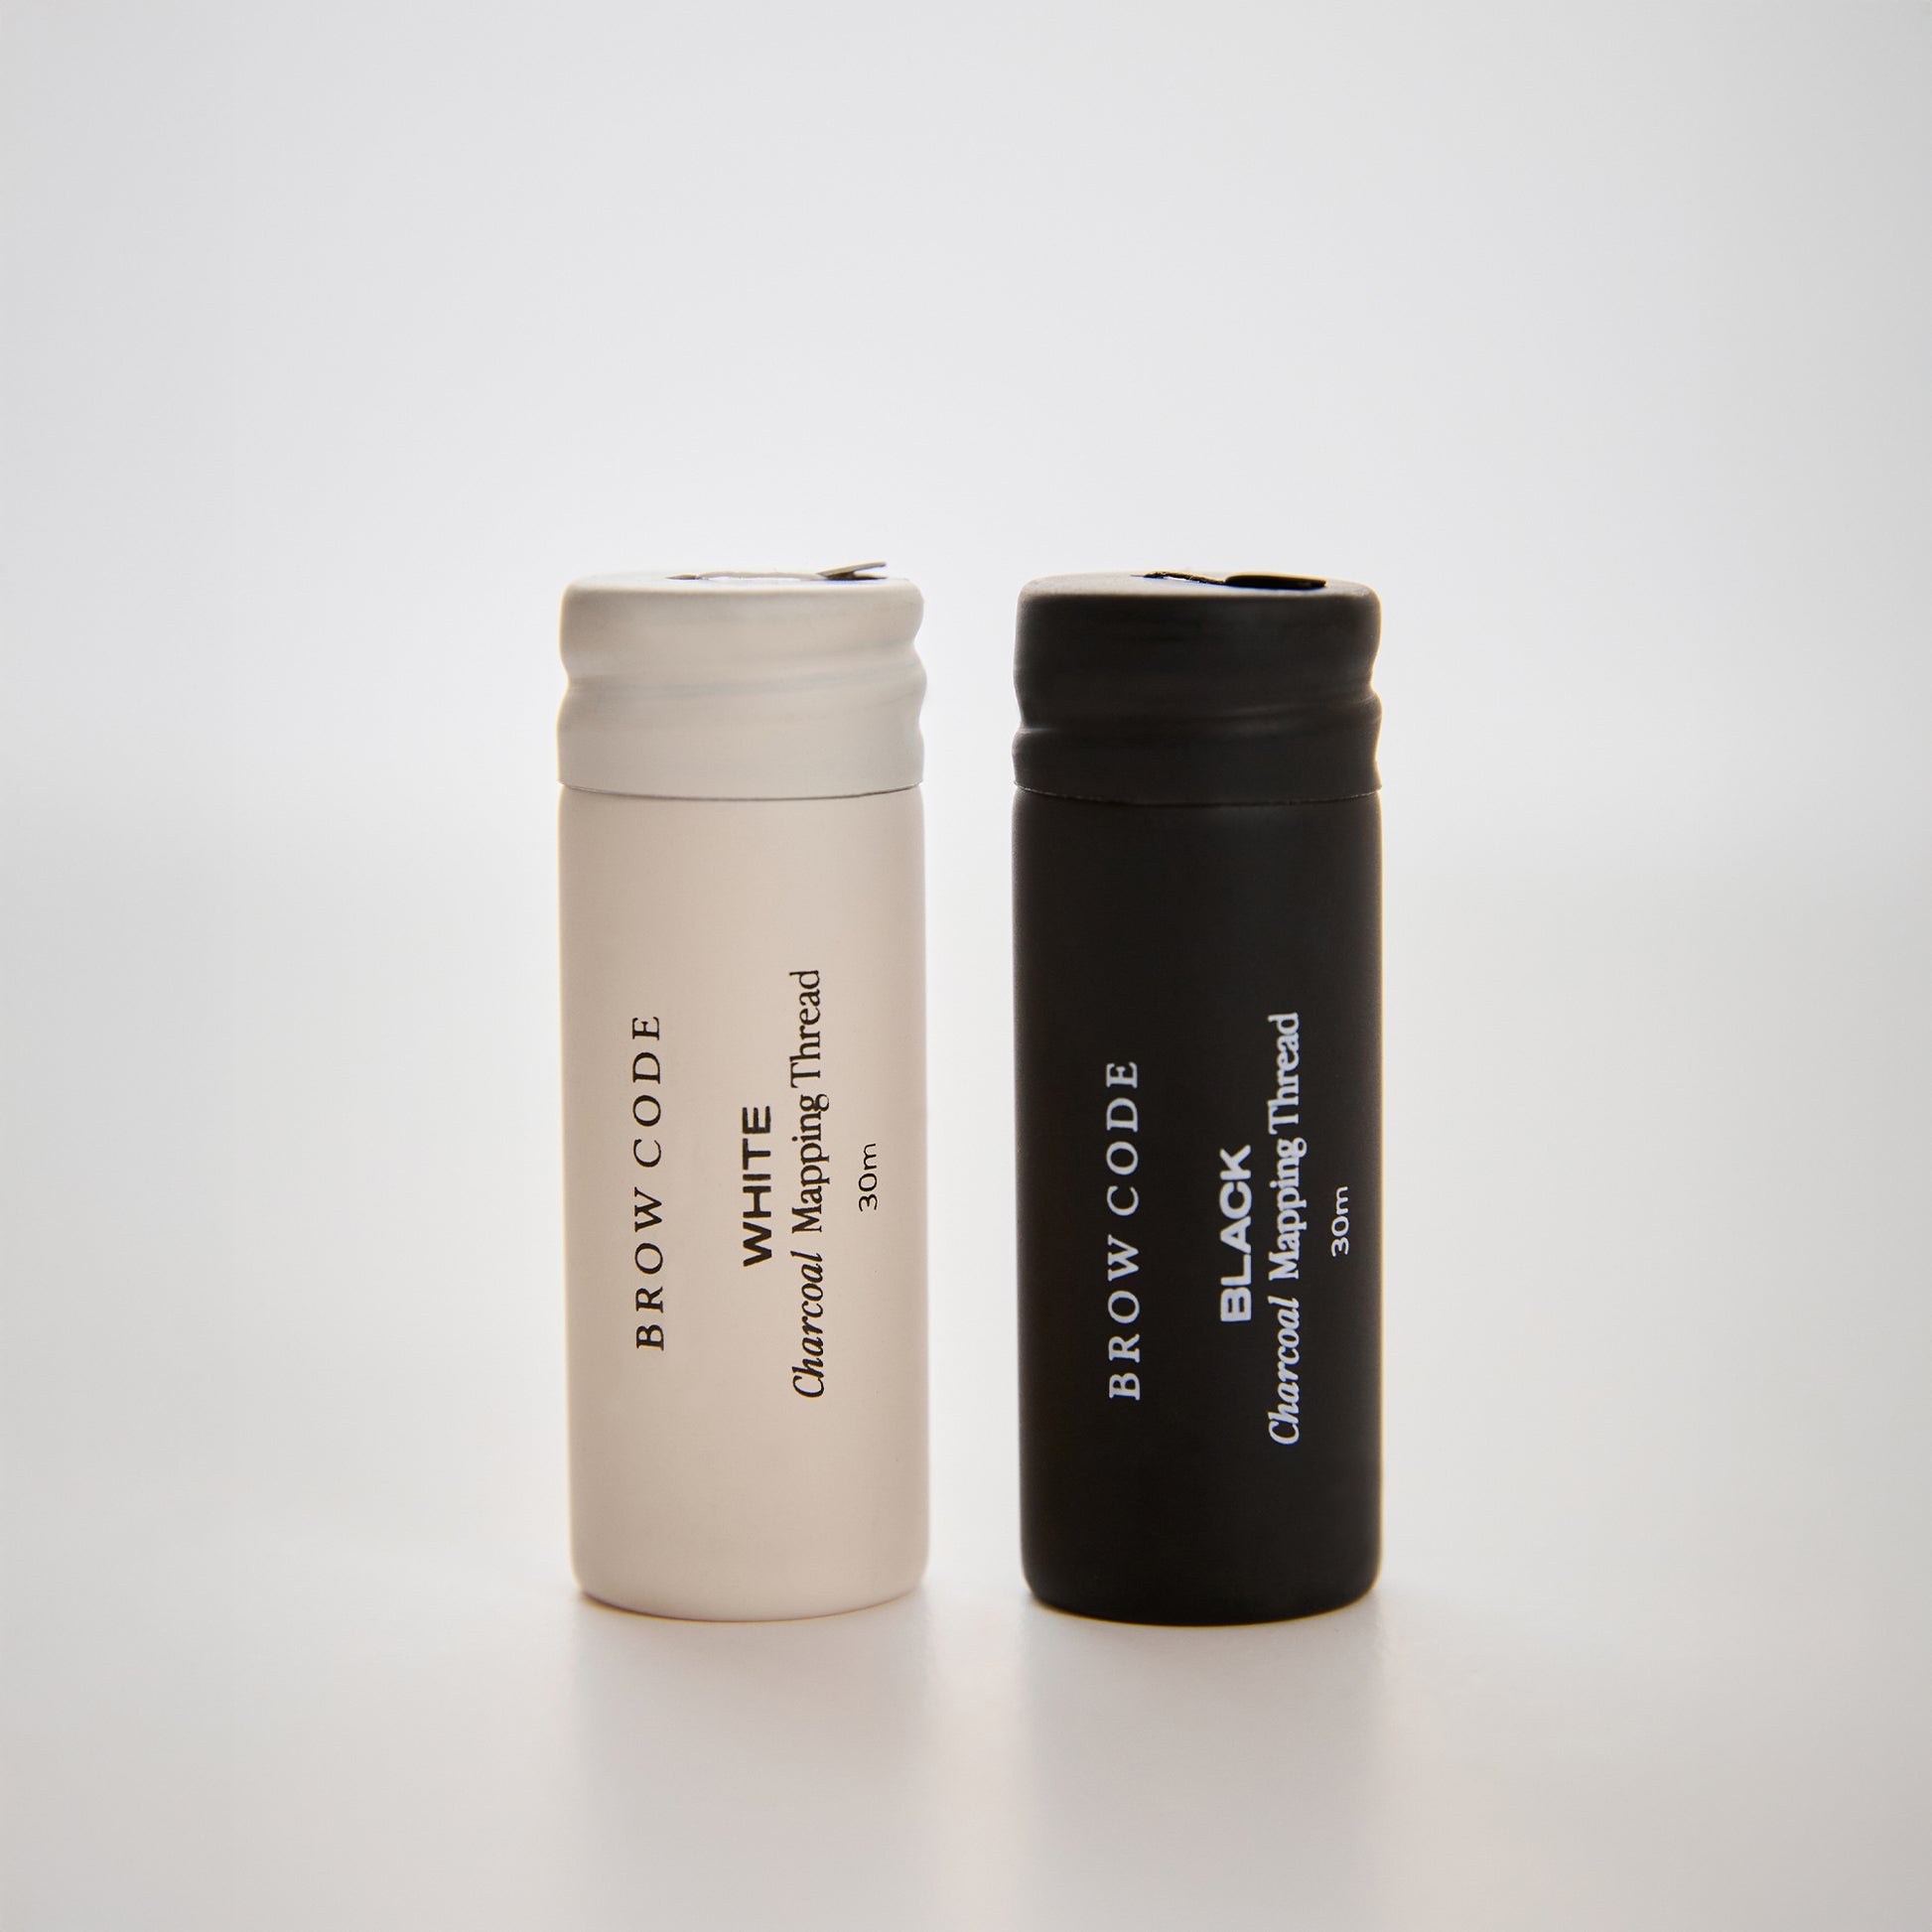
Our Charcoal Brow Mapping Thread is available in both White and Black and comes pre-inked with activated charcoal for smooth, ultra-visible lines. With a fine 1mm width and 30 metres per spool, it delivers high-performance results without staining the skin. Whether you're new to mapping or a seasoned pro, our thread ensures clean, precise lines that hold during service and wipe away with ease.
Step-by-Step Guide to Brow Mapping
1. Prepare the Brows
Always completely a patch test before starting your service. Cleanse the brow area with a professional-grade, oil-free cleanser and pat dry with cotton pad. Ensure the skin is clean, dry and free from makeup or oil prior to mapping.
2. Identify Key Points
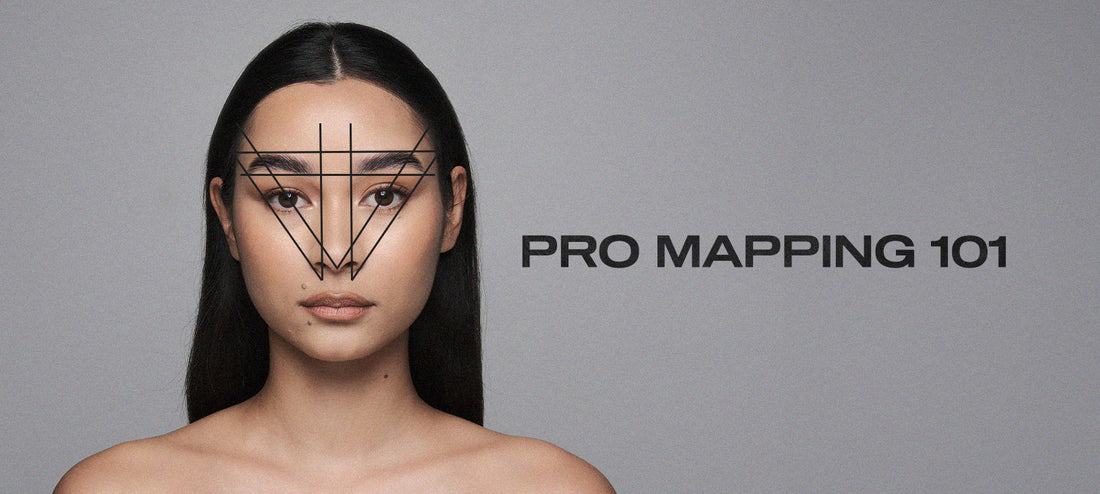
Using our Charcoal Eyebrow Mapping Thread, begin by identifying four key points on the brow: the center, the head, the arch, and the tail of the brow. These points serve as your guide for creating a well-proportioned shape.
-
- Center: Align with the center of the nose to find the midpoint between both brows.
- Head: Draw a vertical line from the dimple of the nose straight up to mark where the brow should begin.
- Arch: From the outer edge of the nose, pass the thread through the center of the pupil to identify the highest point of the brow.
- End: Extend a line from the outer corner of the nose through the outer edge of the eye to determine where the brow should end.
3. Map the Shape
Once the key points are identified, use the Black or White Charcoal Brow Mapping Thread to connect them and create a precise outline.
-
- Base: Place the thread horizontally underneath the brow head to mark its lowest point.
- Top: Place the thread horizontally above the brow head to mark its highest point.
- Peak: Place the thread horizontally across the highest point of the arch to determine the ideal brow height
- Lower Brow Line: Start at the center point and draw a line along the lower edge of each brow, beginning at the base of the brow head and ending at the base of the arch.
- Upper Brow Line: Place the thread at the base of one brow, then connect it through the center to the peak of the opposite brow. Repeat this process on the other side to outline the upper edges of both brows.
- Tail Taper: To taper the tail, draw a line from the arch to the tail point along both the upper and lower edges of each brow.
4. Review & Adjust
Carefully assess the overall symmetry, height, and shape of both brows. Adjust the mapping lines as needed to ensure balance and proportion before moving into shaping.
5. Shape the brows
With your map in place, it’s time to shape the brows. Whether you’re waxing, trimming, or tweezing, follow the outline to shape the brows according to the map. The thread’s markings will ensure that both brows are symmetrical and perfectly proportioned.
-
-
-
Trimming: It’s very important to brush the brow hairs into their natural direction before this step.
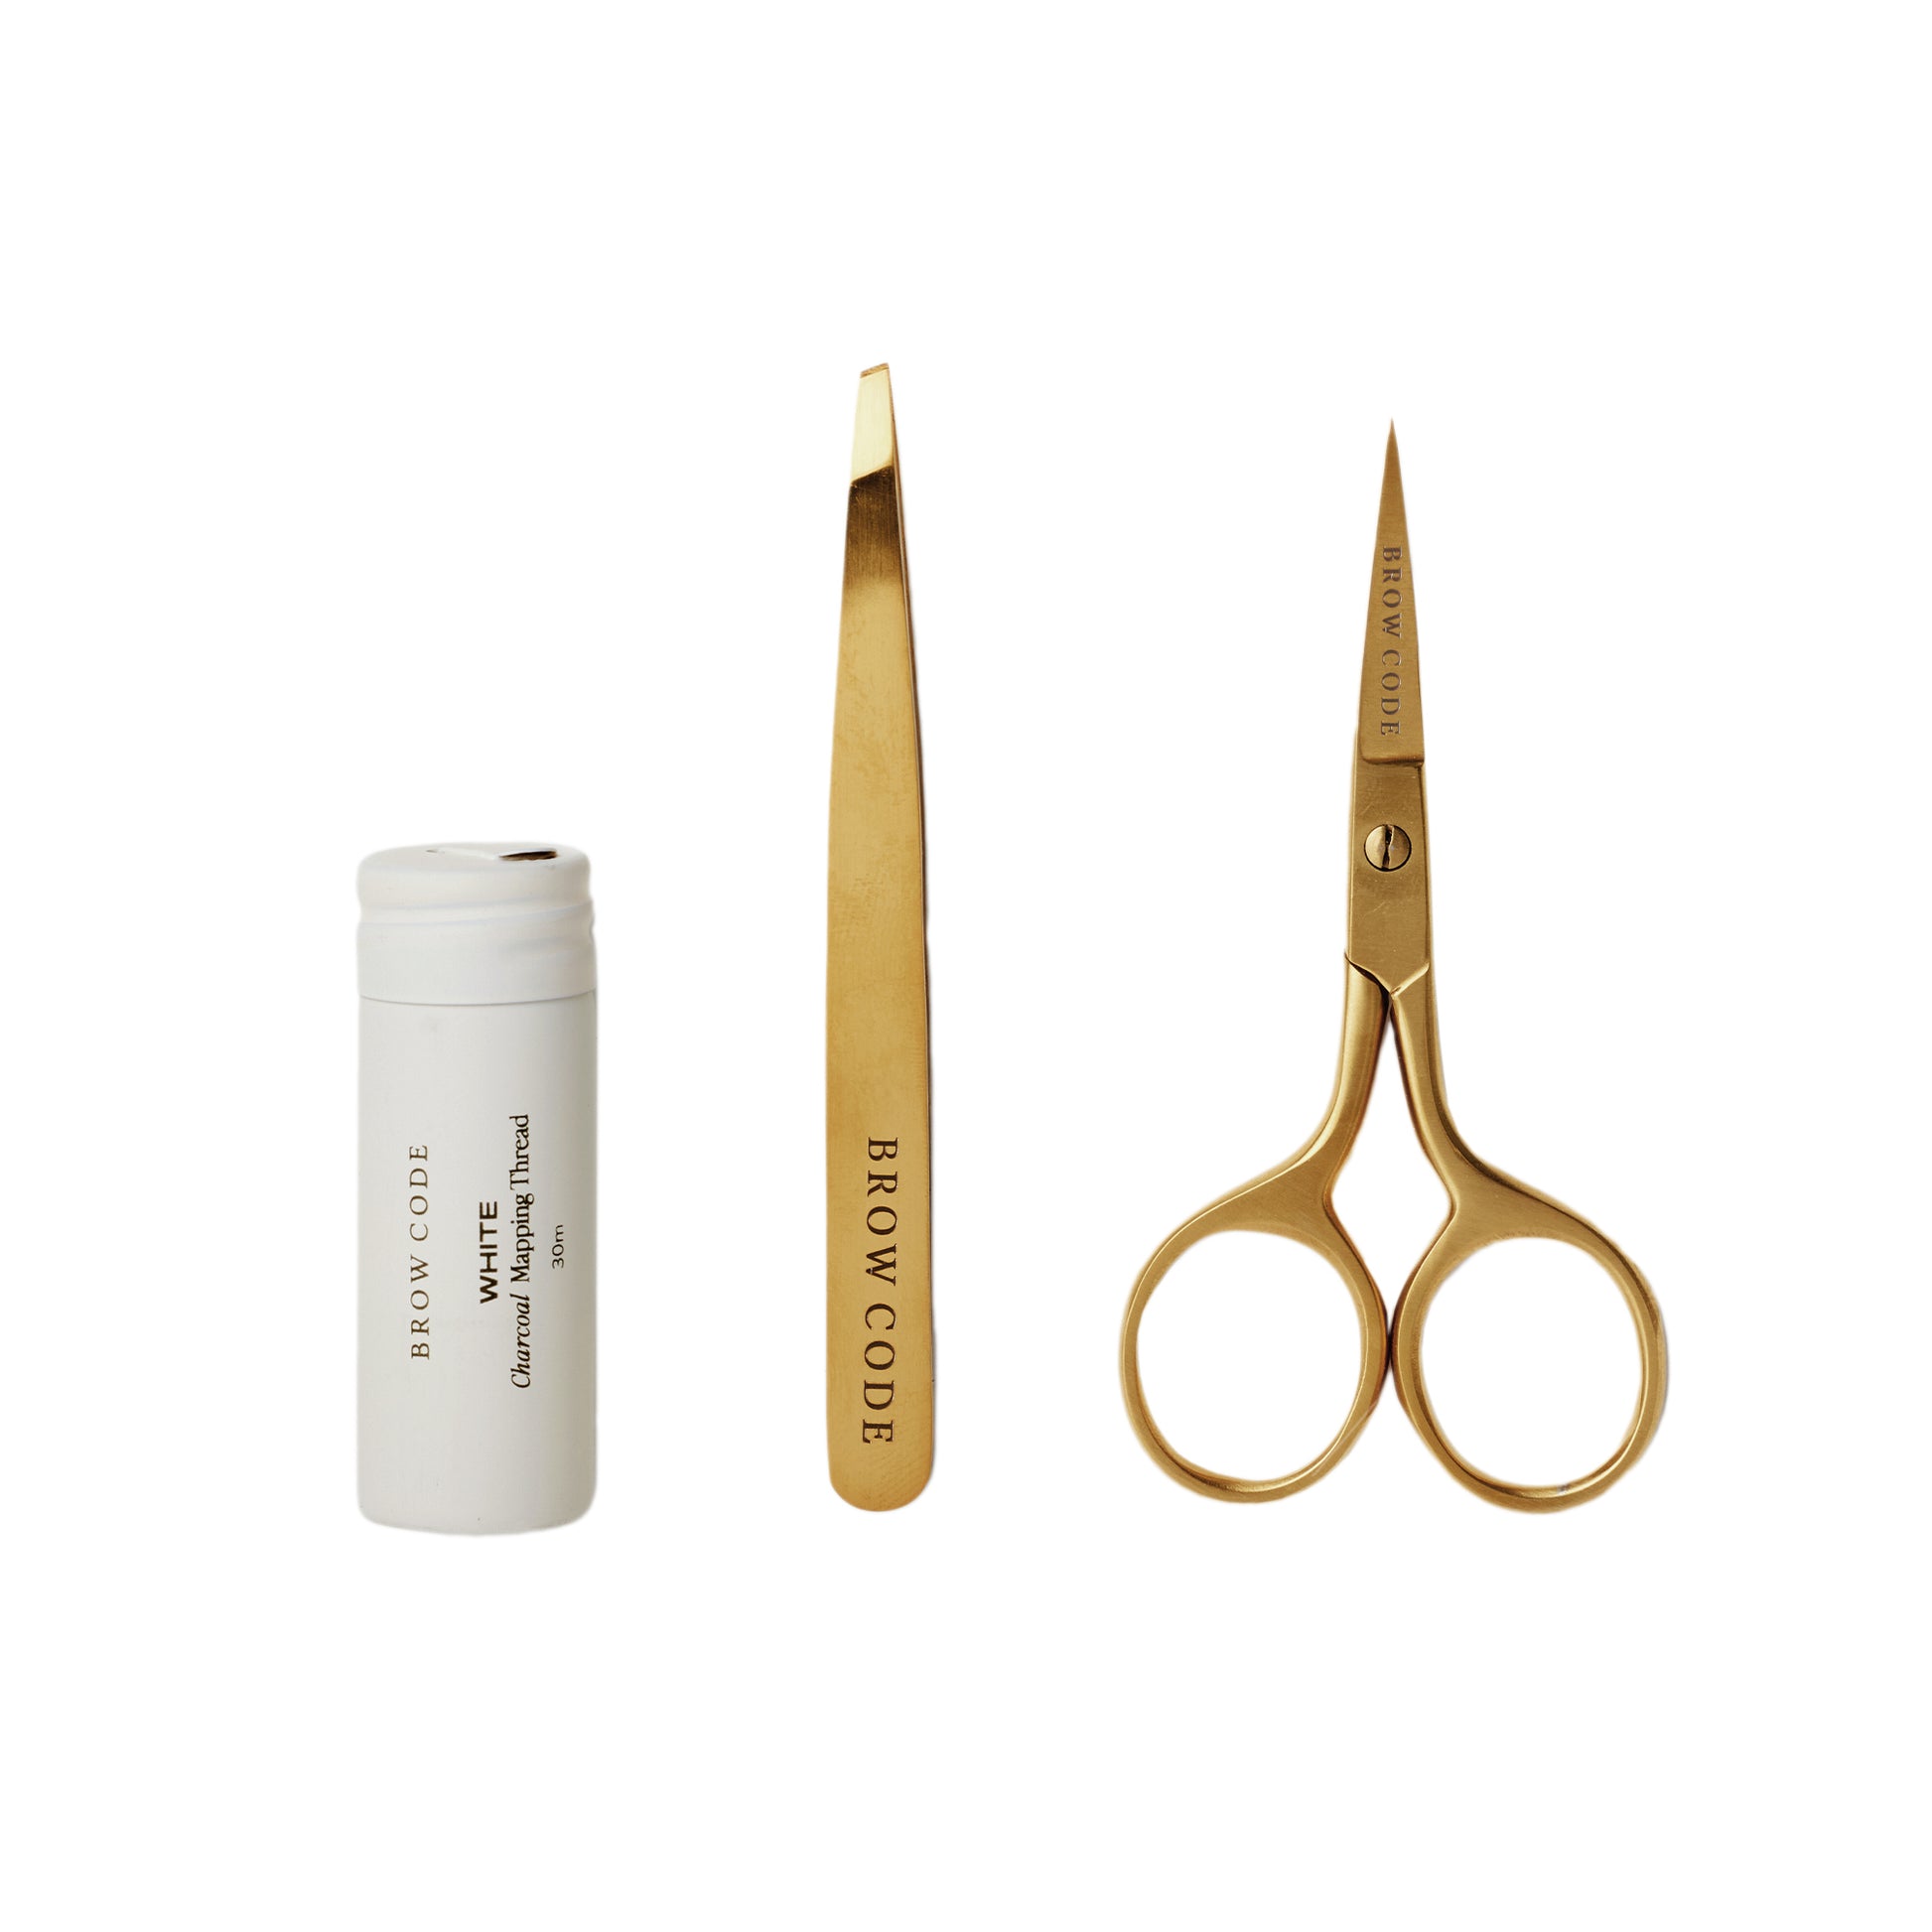
Use the Trimming Scissors to trim any stray hairs outside the mapped guideline, if necessary. Do not brush brow hairs upwards or downwards to trim. - Waxing: Apply wax and remove hair outside the mapped shape.
- Tweezing: Use Slant Tweezers to remove any remaining stray hairs and refine the shape.
-
Trimming: It’s very important to brush the brow hairs into their natural direction before this step.
-
6. Final Touch
Gently wipe away mapping pigment with a damp cotton round. Apply a soothing aftercare product to hydrate and calm the skin.
Whether you're prepping for a wax, tint, stain hybrid dye, or PMU — mapping is always the first step to symmetry and precision. For even more tips and product recommendations, explore our Brow Mapping Kit or watch our Pro Brow Mapping Video.